 Irish Tea Cake anyone? I do love a good tea party. Ever since I was young and my Mom would allow a tea party it was always a lot of fun and a real treat. Visiting my Scottish grandmother meant that we had tea often and it always seemed to turn into a bit of a party.
Fast forward to having a daughter to share my love of tea parties with and here we are. Since she was quite young she would host tea parties. In her room, outside, on the floor in the family room…wherever and whenever she could she would host a tea party. Even if it was just her and I.
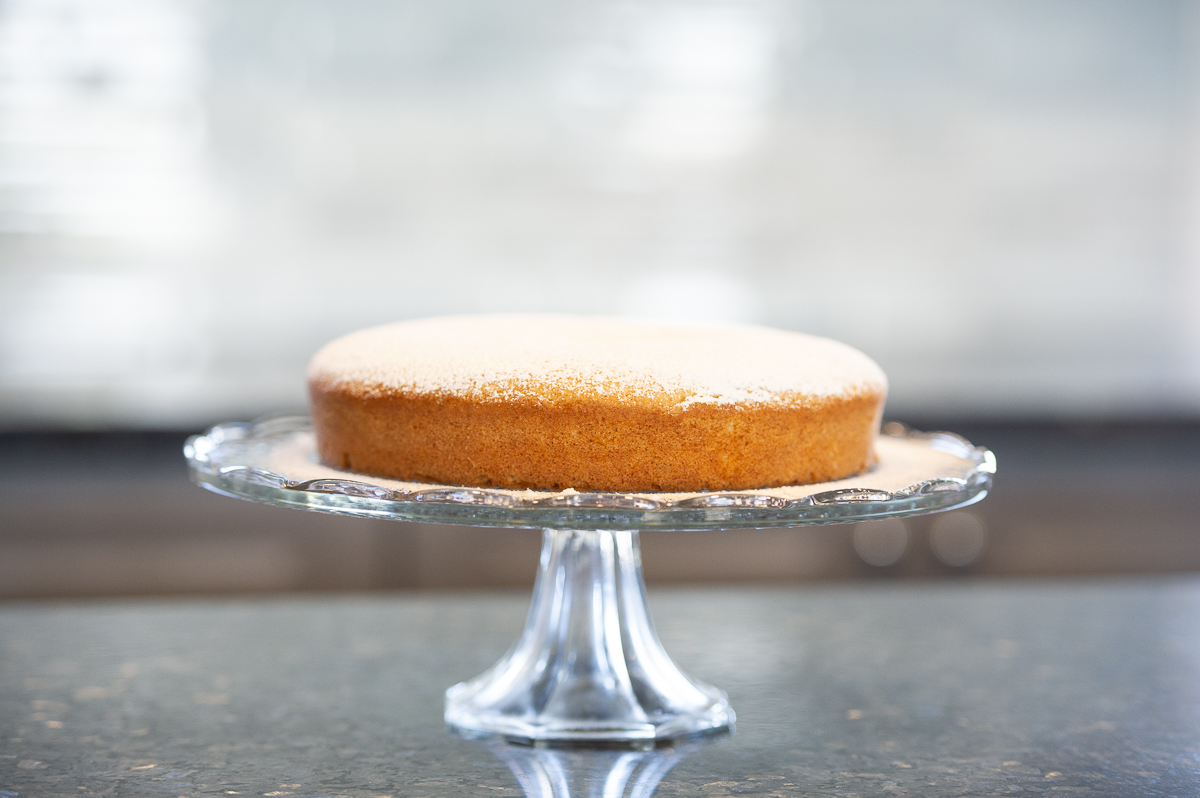
 We have the Fairmont Chateau Laurier in Ottawa and they hold a High Tea. One of our daughters friends was going for a birthday party so I got all the questions. And then realized that I had never taken her! What have I been thinking? Since we can’t go yet, I figured I would make some tea treats to enjoy with a nice cup of Earl Grey. First up was the Irish Tea Cake.
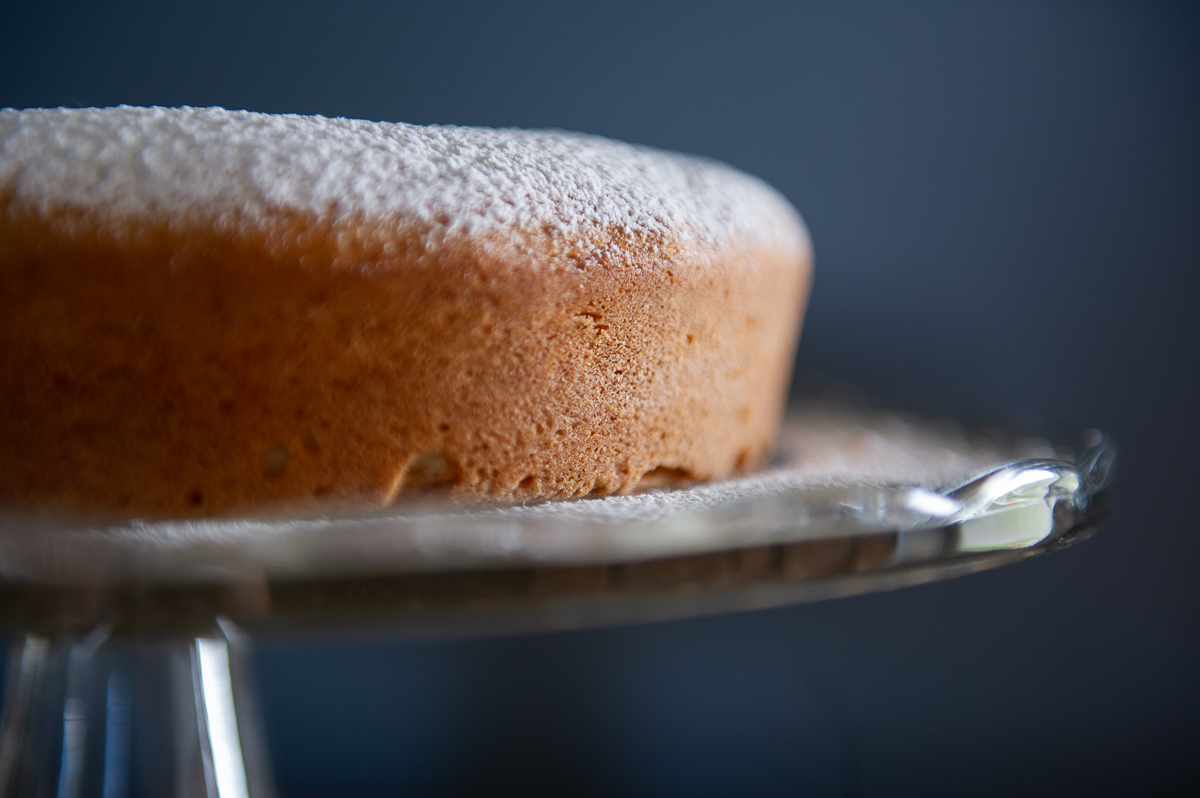
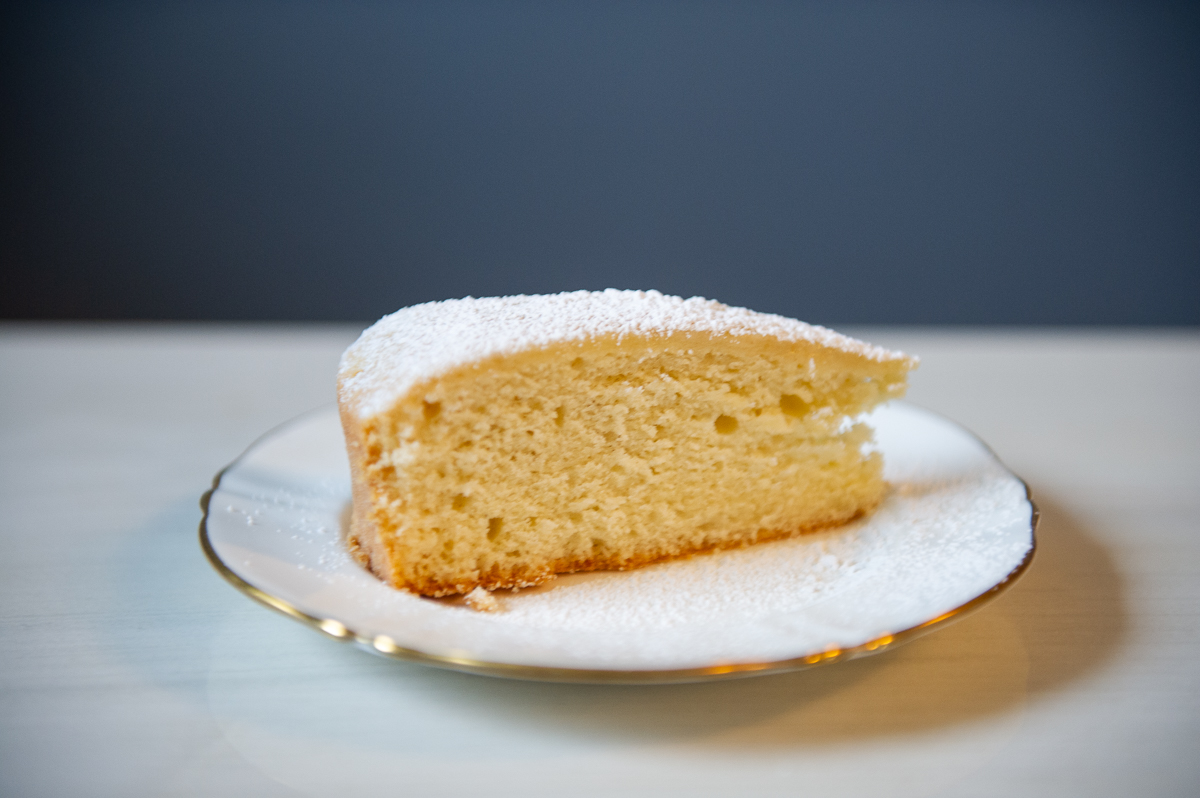
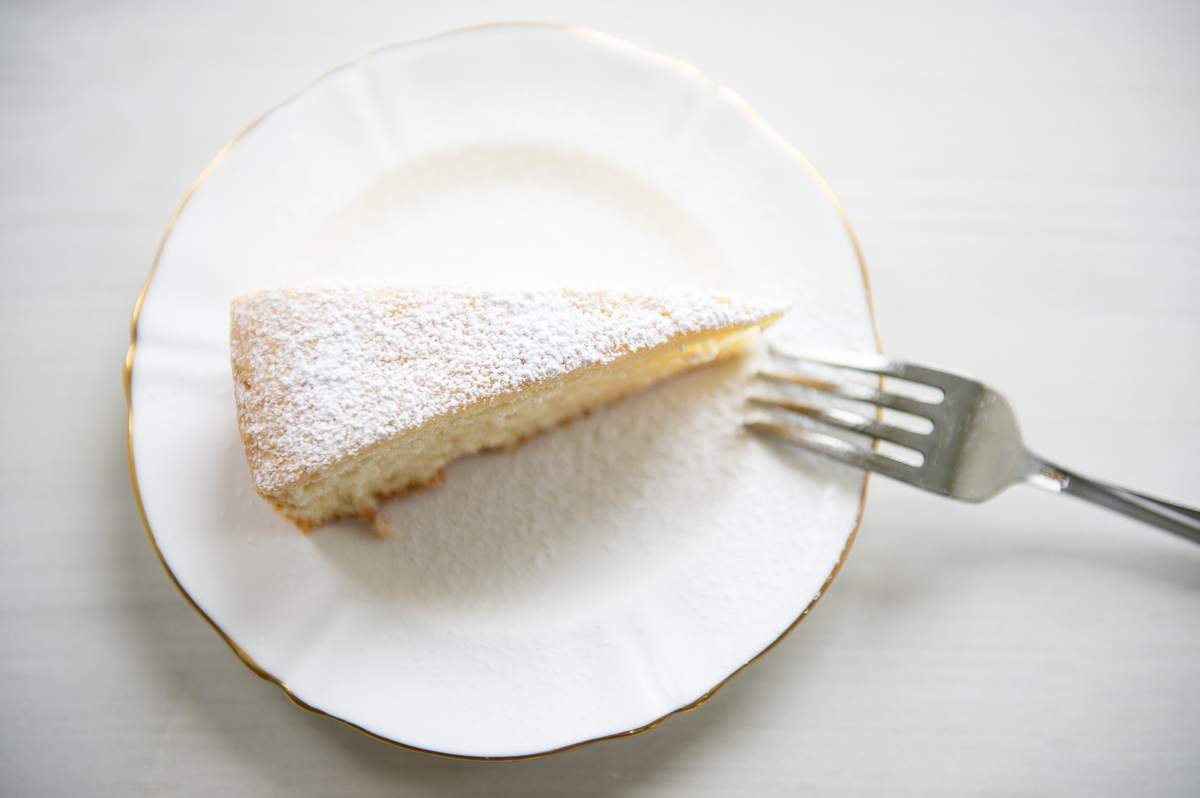 Not too sweet, not too dense, not too dry, just right. The perfect accompaniment to a cup of tea or coffee. At first our daughter was wondering where the icing was, but once she tasted it with the sprinkled sugar she understood. It would have been too much to put icing on it. Although, when fresh strawberries and raspberries are out, we will be sure to make this again and enjoy with a bit of each.
 Want to try it for yourself? A simple, quick and easy recipe that you can whip up in no time for guests to enjoy, or just for a random Friday.
I followed this recipe from Let’s Dish Recipe’s that I found on Pinterest. I had made one in the past, but couldn’t find that recipe and this one was as close as I could get. Enjoy!
Recipe
Ingredients
- 1/2 cup butter, softened
- 1 cup white sugar
- 2 eggs
- 2 teaspoons vanilla extract
- 1 3/4 cups all-purpose flour
- 2 teaspoons baking powder
- 1/2 teaspoon salt
- 1/2 cup milk
- Powdered sugar for dusting
- Fresh berries and whipped cream, for topping (optional)
Instructions
- Preheat oven to 350 degrees. Grease and flour a 9-inch round pan.
- In a medium bowl, cream together the butter and sugar with an electric mixer until light and fluffy. Beat in the eggs, one at a time, mixing until fully incorporated. Stir in the vanilla.
- In a medium bowl, combine the flour, baking powder and salt. Stir into the batter alternately with the milk, starting and ending with the flour mixture.
- Spread the batter evenly into the prepared pan. Bake for 30 to 35 minutes, or until a toothpick inserted into the center comes out clean.
- Cool in the pan on a wire rack for about 15 minutess, then turn out onto a serving plate.
- Just before serving, dust with powdered sugar. If desired, top slices with fresh berries and/or whipped cream.
Tags:
#farmhouse,
Baking,
farmhouse kitchen,
Food Photography,
high tea,
irish tea cake,
spot of tea,
tea party
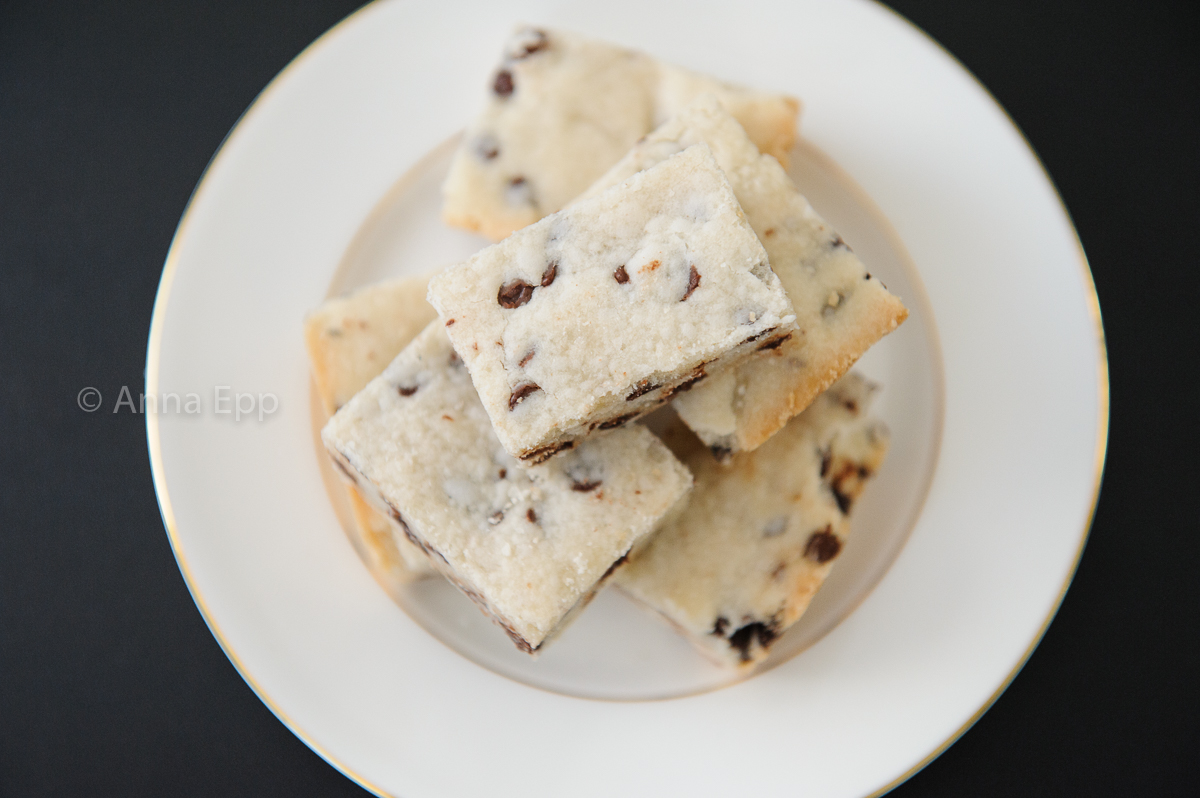
Years ago, and I mean YEARS ago, like before my kiddos were born years. I often made Martha Stewart’s dried cranberry shortbread hearts. This shortbread was a favorite at home and at the office that I worked at, coworkers would pop by often to see what treats I had and these were always gone in a flash.
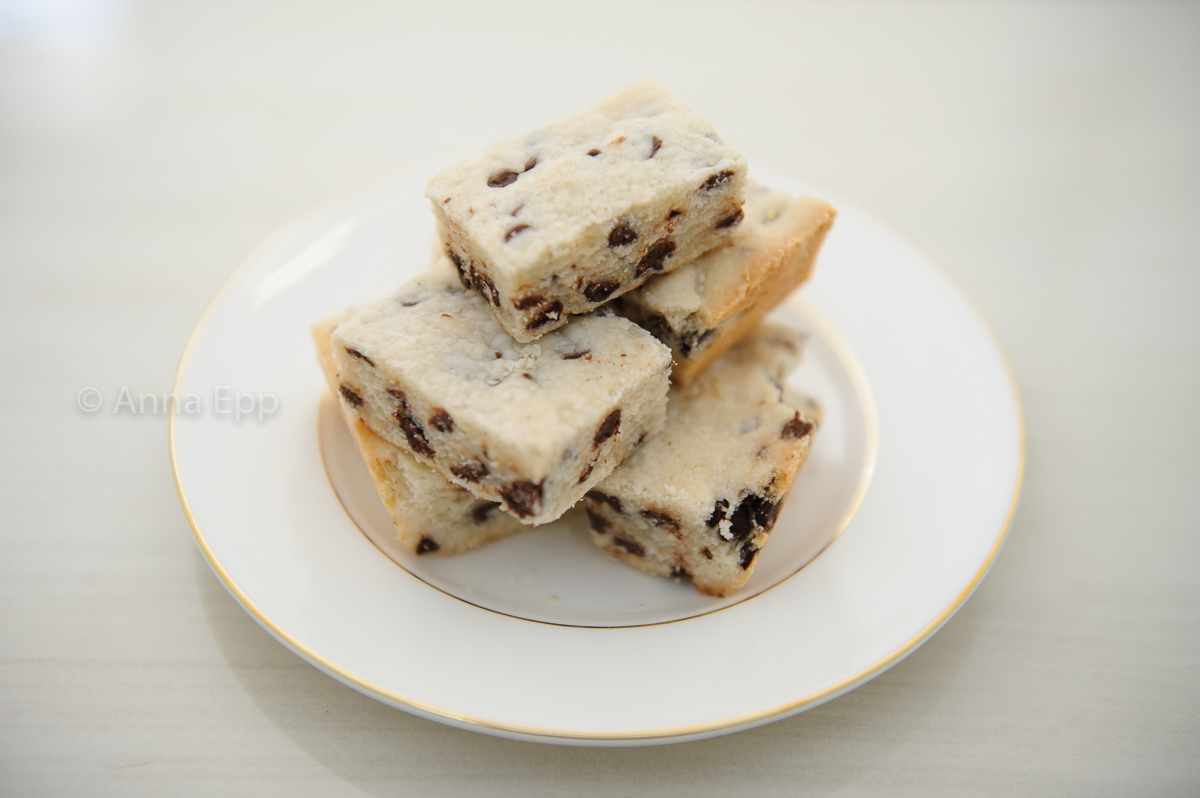 I almost always used candied cherries instead of dried cranberries as they give it an extra little something. I also would cut them into hearts, but hated that I lost cookies with the trimmings, so I started to cut them into squares. Then one day I had some mini chocolate chips to use up and thought, why not? Then I cut them into rectangles instead of squares.
A few weeks ago, I wanted some cookies for a workshop I was hosting, but I didn’t want to spend too much time in the kitchen. I remembered Martha’s Shortbread and that I could whip them up in minutes. Now I can barely keep them in the house, Hubby sneaks a few, the kiddos sneak a few, then all of a sudden the tin is empty. I throw together another batch, changing it up slightly and poof! Those are gone too! Thank you Martha Stewart, for giving us quick and easy shortbread for all to enjoy!
 Recipe
40 minutes
serves 24
Ingredients:
1 cup of butter, softened
3/4 cup of icing sugar
1 tsp vanilla
2 cups of all purpose flour
1/2 tsp salt
1/2 cup finely chopped dried cranberries, or candied cherries, or mini chocolate chips
Instructions:
- preheat oven to 325.
- Combine butter, icing sugar, vanilla, flour and salt in a large mixing bowl or the bowl of your electric mixer. Mix until all ingredients are combined.
- Add cranberries, cherries, or chocolate chips
- Press batter evenly into 8×8 or 9×9 square baking pan. Bake until just turning golden, about 20 minutes. Place pan on cooling rack until cool to the touch, about 20 minutes. Run a knife around the edge and turn shortbread out onto a cutting board. Use a heart shaped cookie cutter to cut into hearts or cut with a knife into squares or rectangles.
Categories:
Food,
Recipes
Tags:
Baking,
marth's shortbread,
martha stewart dried cranberry shortbread hearts,
quick shortbread,
recipe,
shortbread in a pan,
simple shortbread,
yummy shortbread
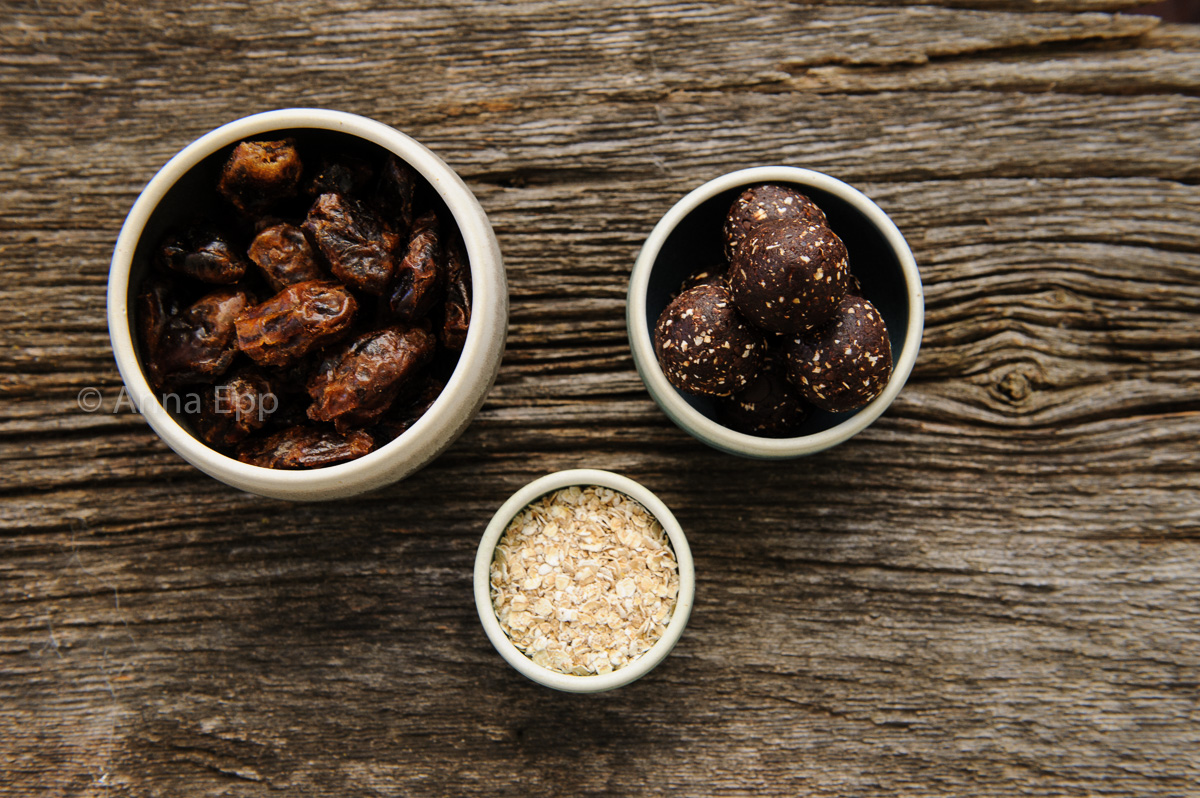
Thin Mint flavored energy bites for your kiddos or any adults that needs a little pick me up during the day.
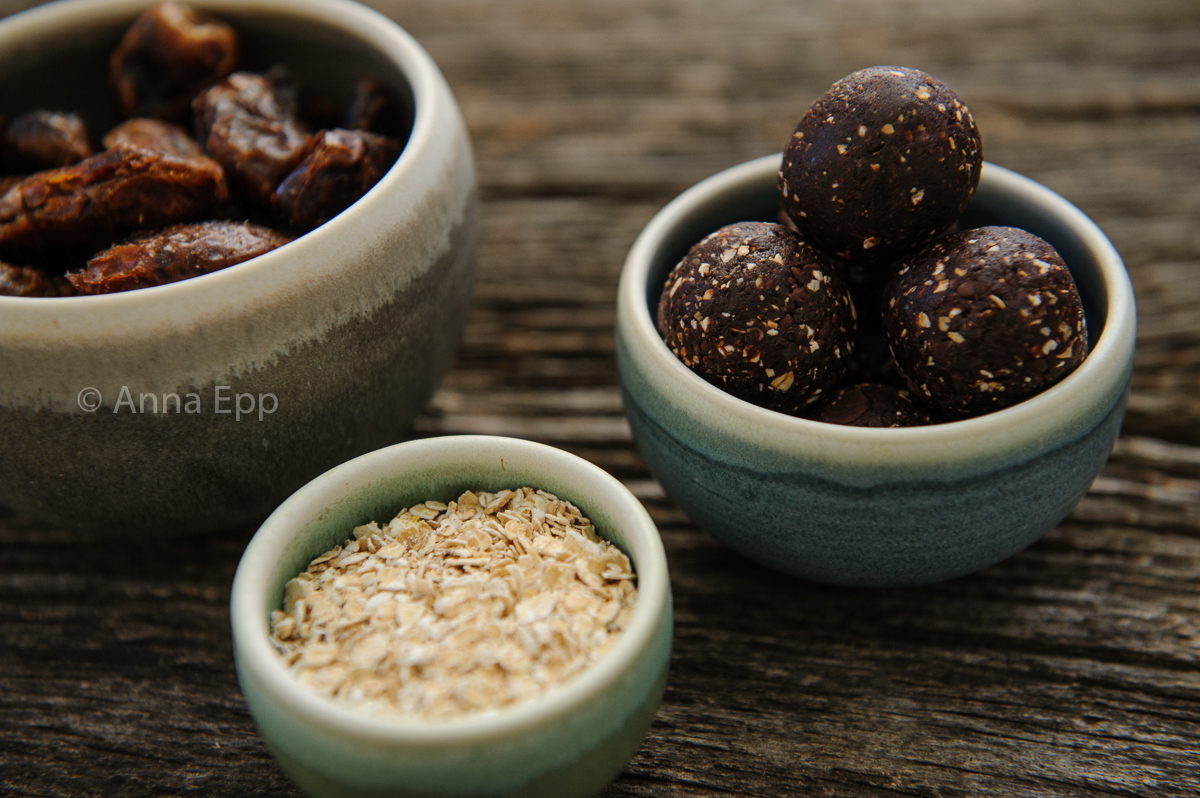
I pulled together a batch of these energy bites for the kiddos this weekend. A quick and easy recipe that anyone, and I mean anyone, can do. I used a basic recipe I found on Pinterest and then changed it up for us with the things we like and can eat. Basically, you can make changes to these recipes based on you and your family. We don’t do nuts here (I am now allergic) and we don’t do dairy. I took out hemp seeds and added carob chips instead, you could put in a number of different seeds and goodies as you see fit.
 Energy Bites for Your Kiddos – Thin Mint Flavour
20 minutes
30 servings
Ingredients:
1 1/2 cup dates
1/2 cup oatmeal
1/4 cup cocoa
1 tsp peppermint extract
1/4 cup carob chips
Instructions:
Add ingredients to your food processor, pulse to start the blending. Once the dates have started blending in it will start to seem crumbly, continue processing, everything will start to pull together and when it is all pulling from the sides stop the processor and pinch a bit between your fingers. If it holds together nicely, you are ready to roll. Roll into 1″ balls. Chill. Enjoy.
Tags:
Baking,
energy bites,
food,
healthy choices,
healthy snack,
Recipes,
thin mint energy bites,
vegan