We seem to enjoy these brownies far more than many other treats, mostly because they are so simple to make. All you need is a pot for the stove and a baking pan and you are good to go. We share them with friends often, sending a tray over the barn for the gals working or a tray to the boys at the field when airsoft is in season. We always make extra so we have some left at home by making a double batch. Making a double batch is very easy, just double the brownie ingredients and use a 9×13 cake pan.
The secret to the gooeyness, which is the essence of the Farmhouse Brownie, is that you must stir the eggs, sugar and vanilla into the melted butter and chocolate very well. If you don’t, the brownies turn out tasty, but more dense and not as gooey. You know it is just right, when the batter has an elastic consistency and wipes clean from the side of the saucepan. Once this happens you are ready for the flour.
Farmhouse Brownies
40 mins
24 servings
Ingredients:
1/2 c butter
2oz unsweetened chocolate
1c sugar
2 eggs
1tsp vanilla
3/4c flour
Instructions:
Preheat oven to 350F. Grease an 8x8inch baking pan and set aside.
In a large saucepan, melt butter and chocolate over low heat. Allow to cool a little, you don’t want it too hot when you add the eggs.
Add vanilla, sugar and eggs. Stir until well combined.
Add flour and mix well.
Pour batter into greased pan. Bake at 325F for 30 minutes or until cake tester comes out clean.
We cut these into about 1″ squares to make them bite-sized, not that you can’t make them bigger, but this way you are enjoying just a bite and they tend to last longer. You can ice these with your favorite chocolate icing, however, we prefer them plain. Serve with a glass of milk, vanilla ice cream or all on their own.
Which ever way you decide to enjoy them, just make sure you include a friend or two to share with.
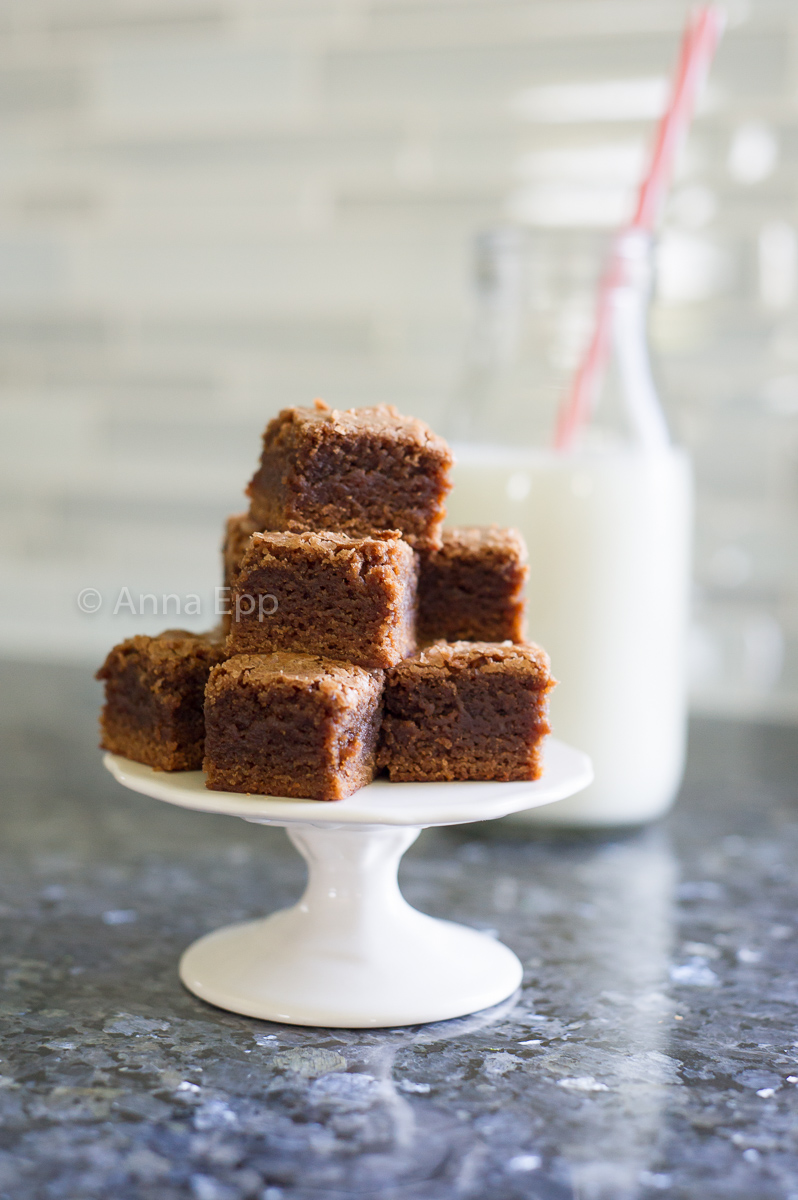
Delicious Farmhouse Brownies
Tags:
brownies,
chocolate,
delicious,
Food Photography,
Recipes,
The Farmhouse,
treats
Despite the unseasonably warm temperatures, it is still Fall. And Fall usually means all things pumpkin around here. I realized yesterday that I hadn’t made some Pumpkin Bread yet, so I had to remedy the situation. With a little help from Apple, we were knee deep in Pumpkin Bread and thankfully she loves it too!
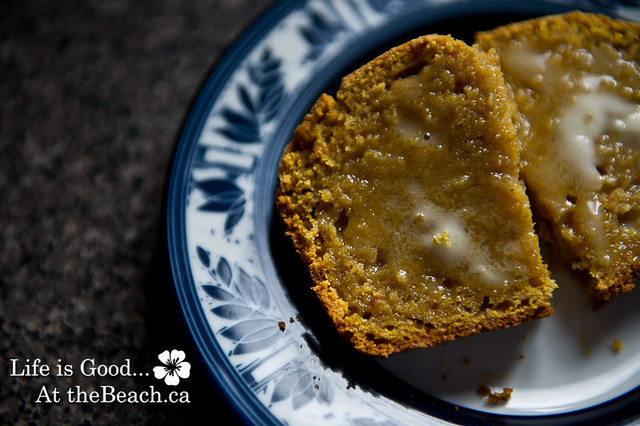
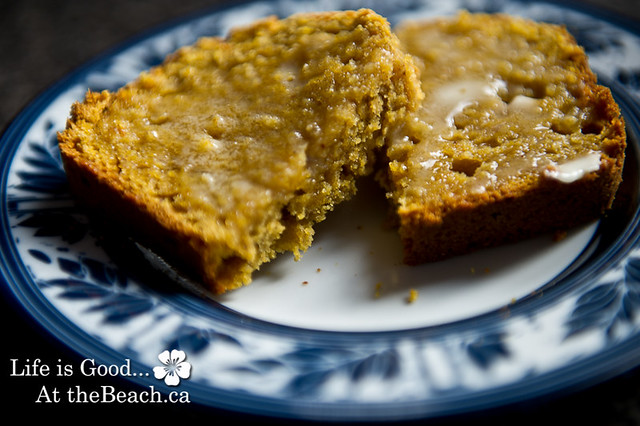
Here is a quick and easy recipe for Pumpkin Bread, best enjoyed with a hot coffee or tea and while enjoying a bit of Fall sunshine.
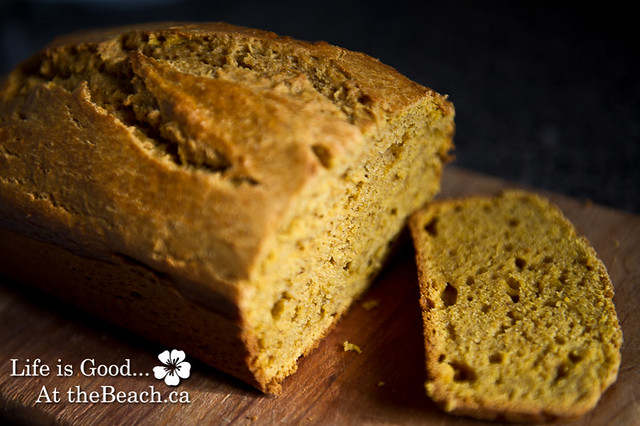 Pumpkin Bread
Ingredients:
1 cup all purpose flour
1 cup packed brown sugar
1 tbsp baking powder
1 tsp ground cinamon
1/4 tsp salt
1/4 tsp baking soda
1/4 tsp ground nutmeg
1/8 tsp ground ginger or cloves (I add both!!)
1 cup canned pumpkin
1/2 cup milk
2 eggs
1/3 cup shortening
1 cup all purpose flour
Directions:
- Grease a 9x5x3 inch loaf pan, set aside.
- In a large mixing bowl (or the bowl of your mixer) combine 1c. flour, brown sugar, baking powder, cinnamon, salt, baking soda, nutmeg, ginger and cloves. Once combined add pumpkin, mild, eggs and shortening. Beat with mixer on low speed until fully blended. Add the other 1 cup of flour; beat until blended.
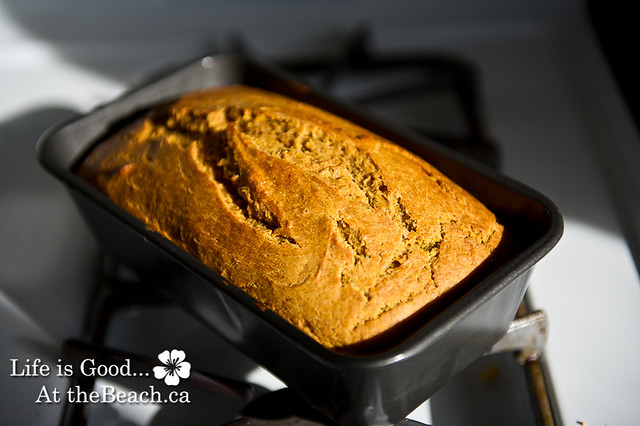
- Pour batter into pan. Bake in 350 degree oven for 60 – 65 minutes. Cool on wire rack for 10 minutes, remove loaf from pan.
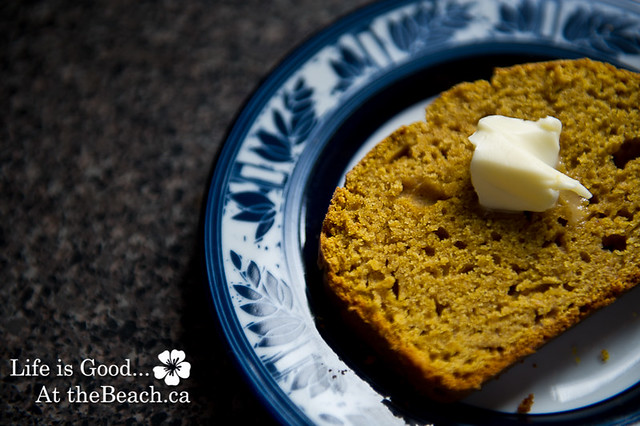
- Enjoy with or without butter 🙂
Notes: I normally make a double batch at once in my Kitchen Aid mixer. If you don’t have a large mixer, I would do it one at a time. I usually buy the large can of pumpkin which makes two and a bit loaves, so if you have room in your freezer, and think it will actually last long enough in there, go for it! Another note, if you like walnuts and raisins both can be added to this recipe and make for a delightful addition. I do use the walnuts once in a while, and raisins if I want Hubby to love it. But to send to school for a snack I keep all the nuts away and just send it with a little butter and an extra heaping of love.
Categories:
Food,
Recipes
Tags:
Pumpkin Bread,
Pumpkin Bread Recipe,
Recipe for Pumpkin Bread
During a recent Twitter party, I got chatting with a new follower about a Chicken Wellington Recipe that is a family favorite. She was wondering how easy it was to make since she is always looking for new recipes to try. I knew I was making it last night for my Mom’s 65th Birthday, so why not blog the recipe so others can enjoy as well.
The first time is always the hardest with any recipe, but honestly it really is super easy and impresses people makes you look like you slaved all day long. My Mom has been making this recipe for many years so I don’t know where it came from, some fabulous magazine no doubt.
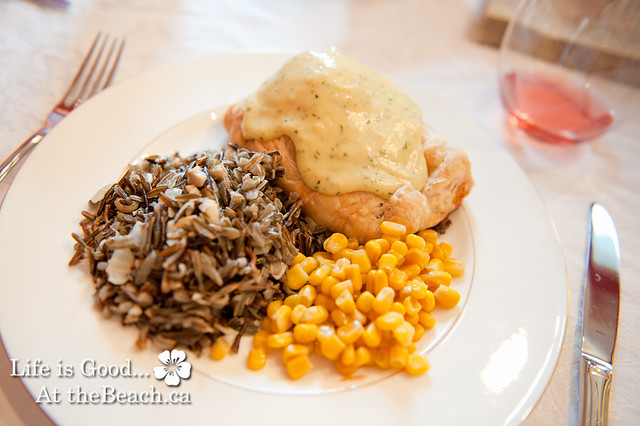
Chicken Wellington
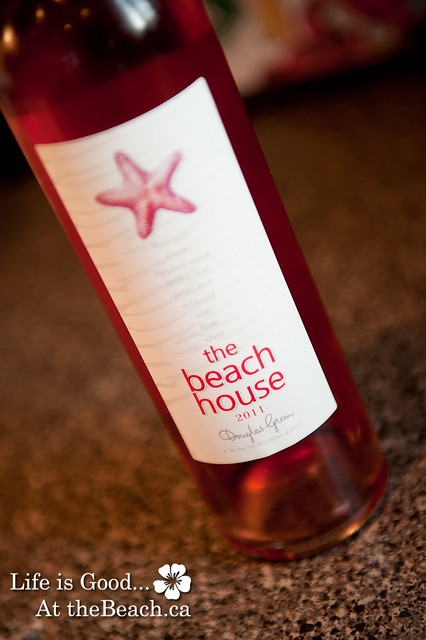
And I had to pick up this wine for supper, I had no idea what it tasted like, but somehow it called out to me from the shelves. In the end it was quite nice, a Rosé from South Africa. Refreshing on a warm day.
Ingredients (makes 16 according to recipe, however I seem to only get 8 and some for the kids, I must use large Chicken breasts)
- 8 Boneless skinless Chicken Breasts
- 1/2c dry white wine
- 2tbsp vegetable oil
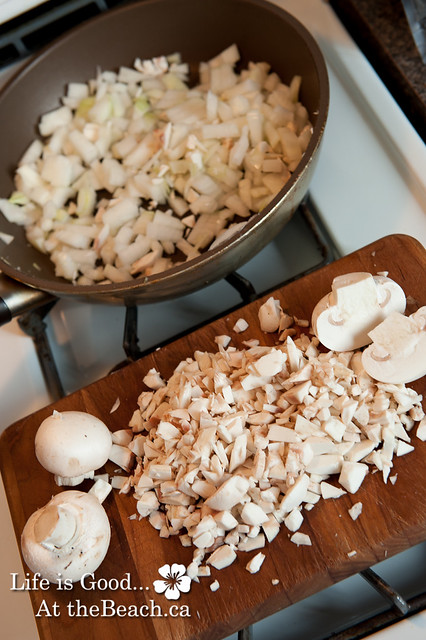
- 1/2 lb mushrooms, very finely chopped
- 2 onions, chopped
- 1/4 c butter
- salt and pepper
- 2 packages (two whole boxes) frozen puffed pastry
- Bearnaise Sauce
Directions:
- Place chicken breasts in a large cake pan or jelly roll pan. Season with salt and pepper, pour white wine and oil to pan. Cover tightly with foil. Bake at 350 for 20 minutes or until chickent is firm to touch. Allow chicken to cool or at the very least rest in on a paper towel before wrapping for a few minutes.
- While the chicken is cooking sauté chopped mushrooms and onion in butter until soft, in a large skillet. Season with salt. Let cool for a few minutes.
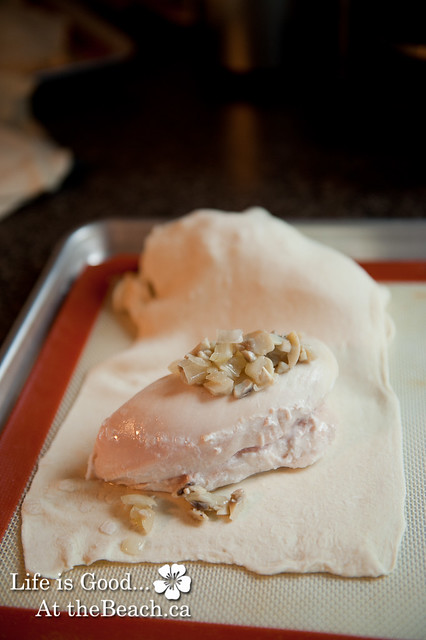
3. Thaw frozen puff pastry. Roll out pastry into long rectangles (I get four rectangles per box) using flour if needed.
4. Place one piece of chicken on the rectangle of pastry, spoon some mushroom mixture on top, wrap the pastry over the chicken and seal with a fork.
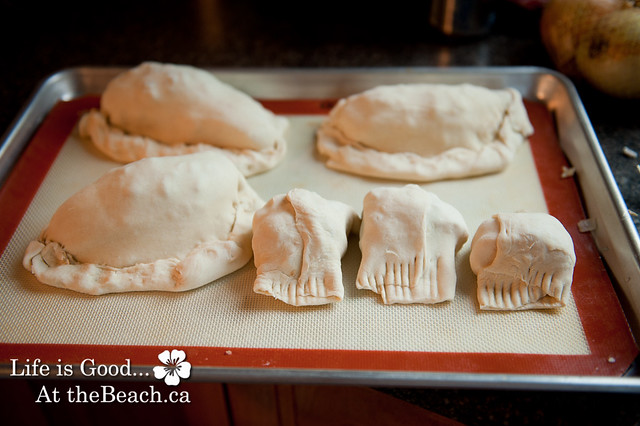
5.When all chicken breasts are wrapped, place on a large cookie sheet and bake in the oven at 375 for 40 minutes.
6.Serve with Bearnaise Sauce and Wild Rice.
Wild Rice Almondine
Follow directions on your box of Wild Rice. When the rice is ready stir in sautéd onions and sliced almonds with a 1/4 c of white wine. Let simmer until wine has evaporated and serve.
Always follow with a fabulous dessert, preferably birthday cake, but any dessert will do.
Happy Birthday Mom!!

Categories:
Food,
Recipes
Tags:
Chicken Wellington,
Fun with Food,
Recipes